
Storing and managing data can be a daunting task for businesses, but with automation tools like “Make,” you can simplify the process and achieve optimal results. Make includes database functionality that allows you to store, transform, search, add, delete, and extract data.
In this tutorial, I’ll show you how to use Make to store structured data of any kind. We’ll cover creating a table, configuring data structure, adding data manually, and using data stored in a scenario.
Why Use Make as a Database
Make’s database functionality is a cost-effective and efficient solution for storing data. Instead of searching for an expensive, enterprise-level cloud-based solution for data storage or relying on numerous spreadsheets, you can work locally with your automations, reduce processing time, and leverage Make to achieve optimal results.
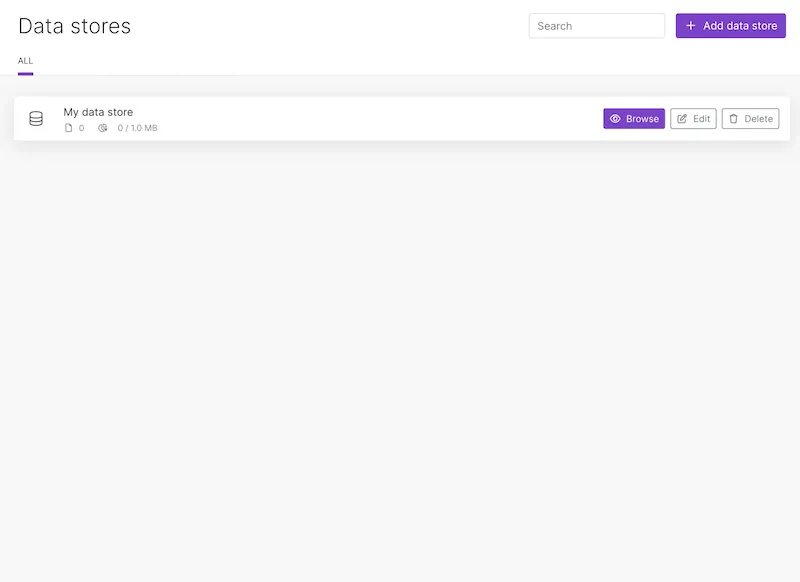
Creating a Table
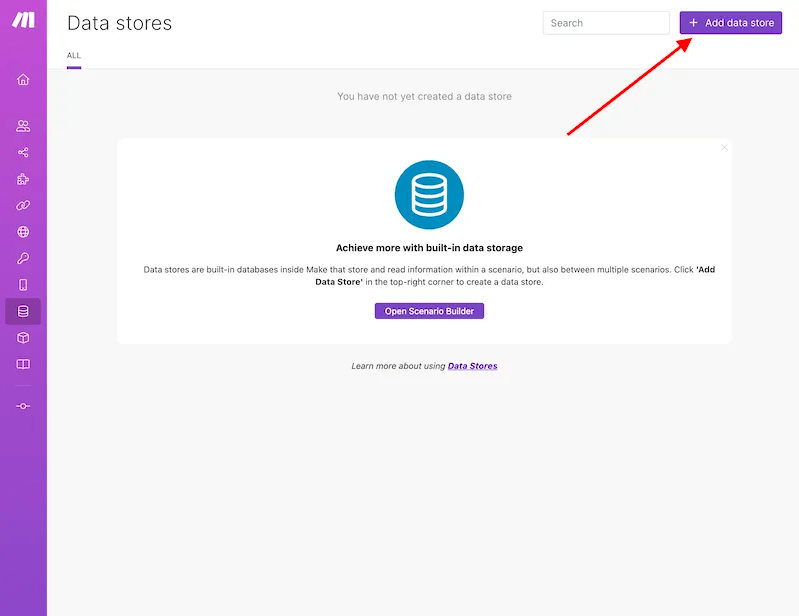
To begin, create a table by navigating to the ‘Data stores’ tab.

You will need to add a new data store and define the table’s name, size, and structure. If you’re unsure about the required structure or which data types to use, don’t worry too much. You can always modify it later.
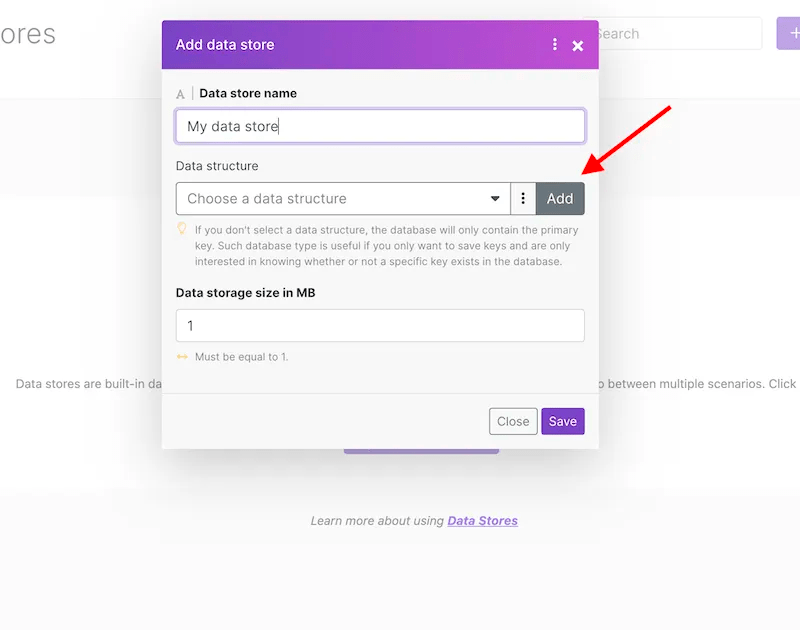
In Make’s free plan, you can create a database with a maximum size of 1 MB. However, in the paid plans, the size can reach up to 4 GB.
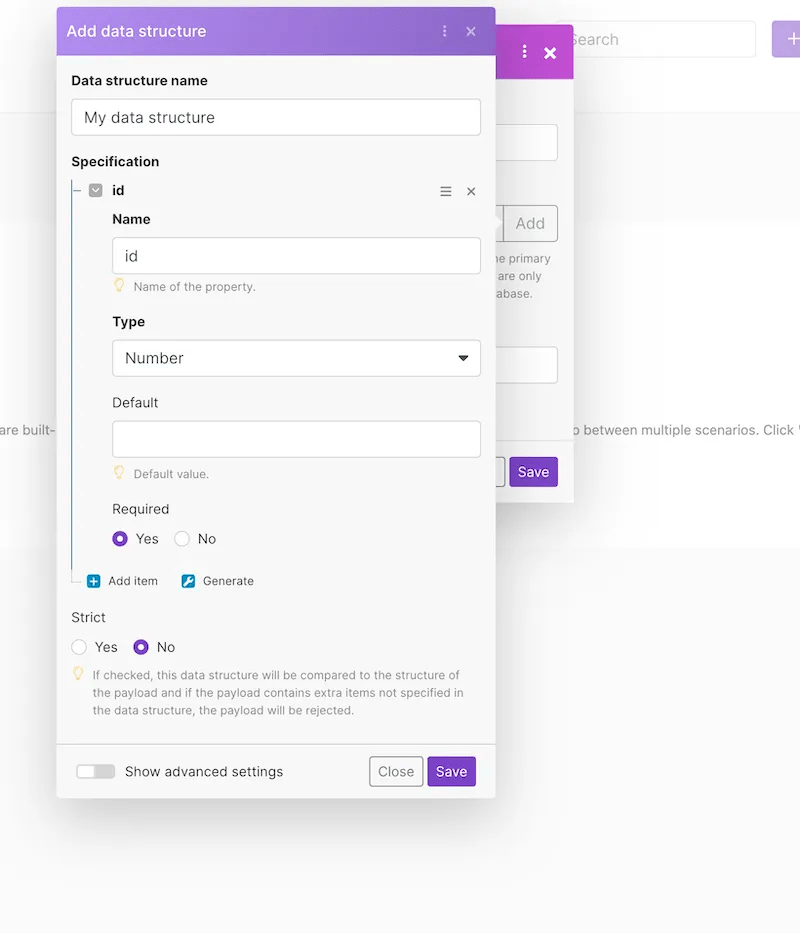
Configuring Data Structure
The data structure is a distinct entity from the table and can be used in multiple tables. Therefore, it must be named and have data types assigned to it. For example, you can add multiple fields like ‘id’ field, which will be numeric and mandatory to add new rows to our data store.
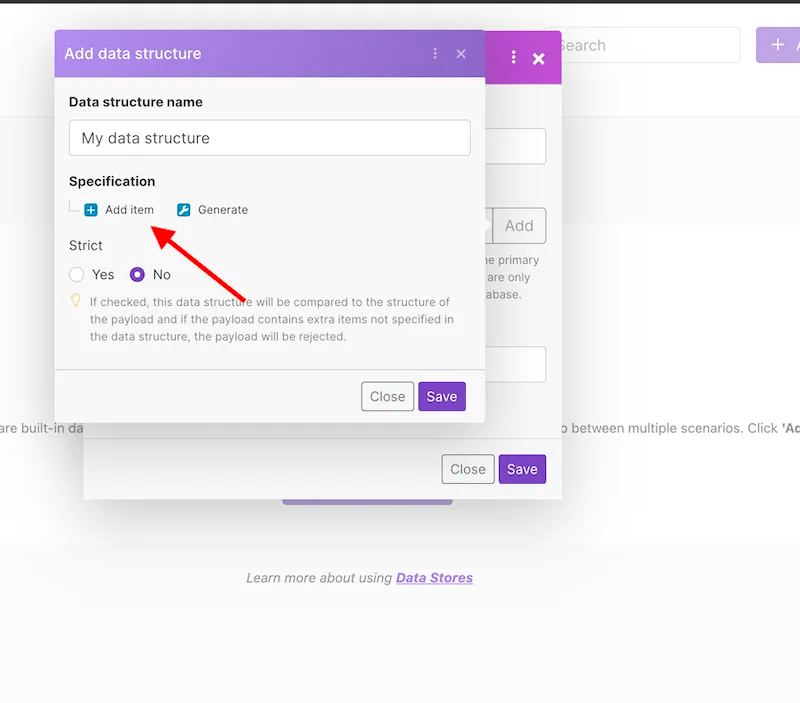
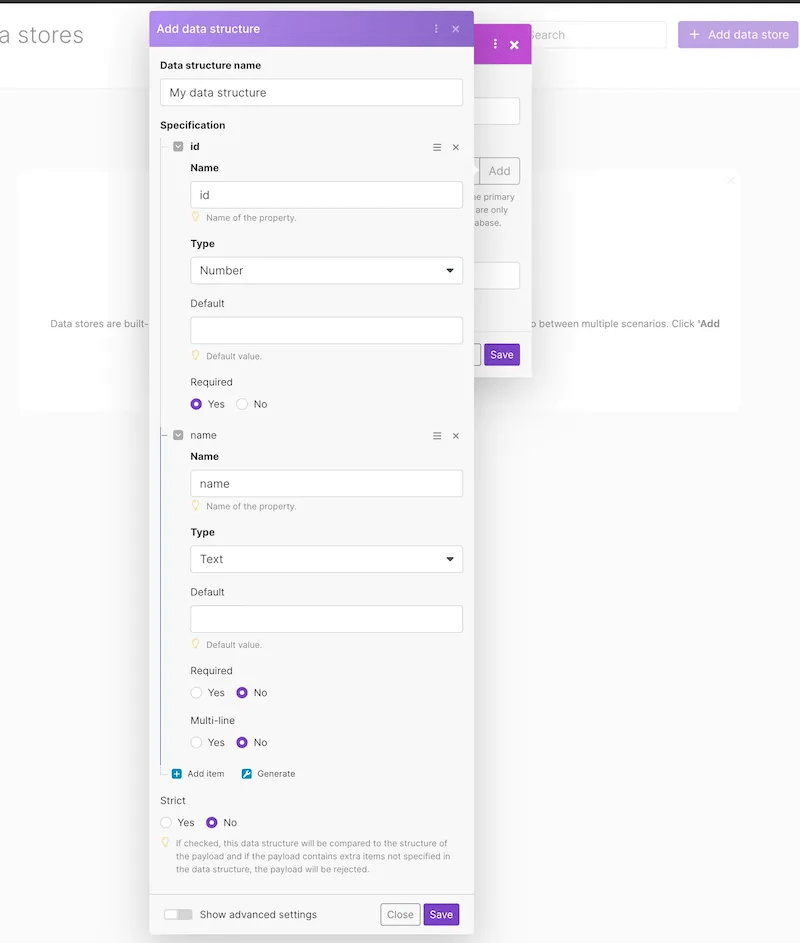
You can also add a new field called “name,” which will be a text field and it will not be mandatory to add new data.
In advance, we will add just two more fields:
- ‘
birthday’ — Date type field, not mandatory - ‘
is_subscribed’ — A boolean field that is supposed to show us whether the user is subscribed to our service or not.

Make sure to check out other data types like arrays, collections, and binary data, which we’ll cover in future posts.
Now that we have configured all of our fields, we can save the data structure and the data store. By clicking on “Browse”, you can view our data structure without any data in it.

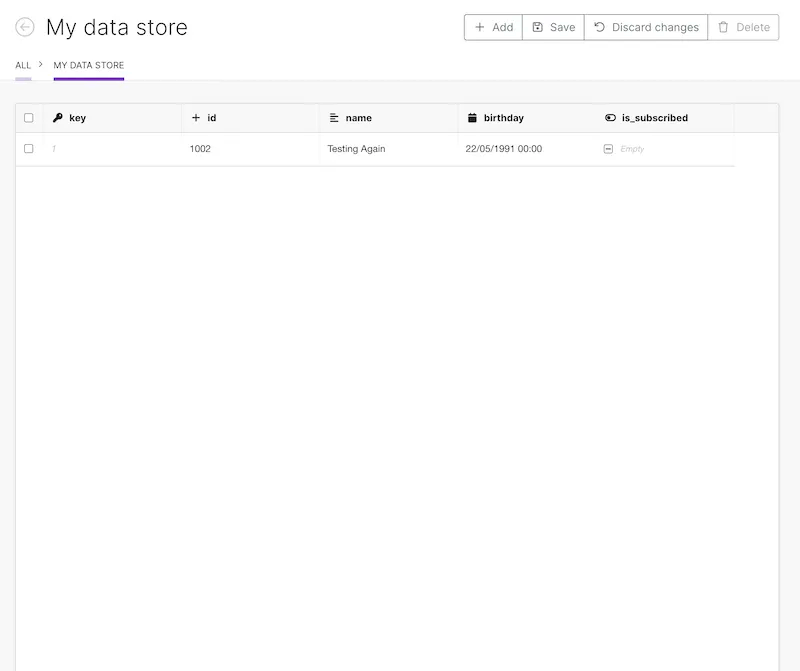
Adding Data Manually
To manually add data, click on the “Add” button.
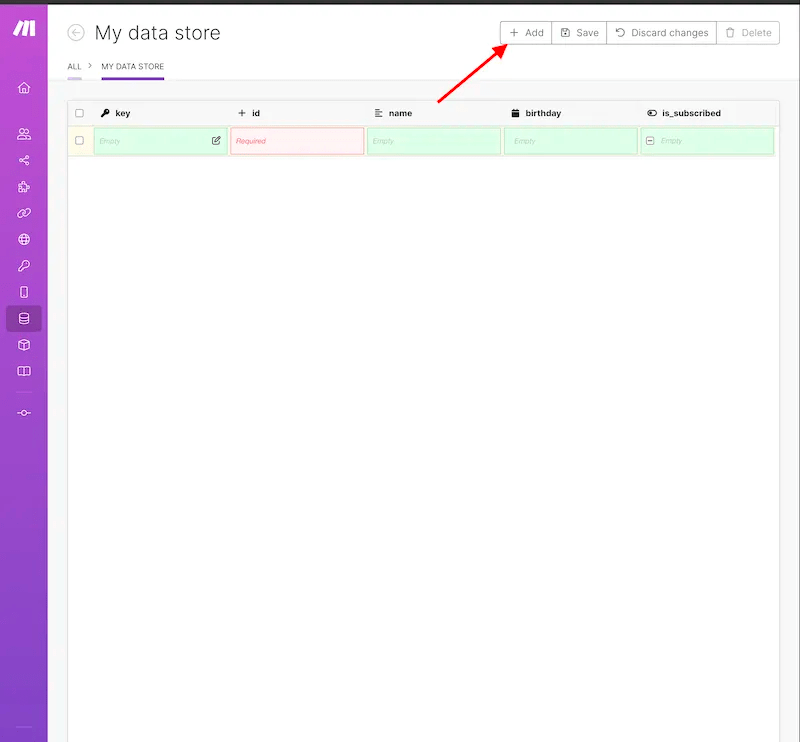
Note that a new field called “key” will be created automatically, which represents the primary key in the table. If you do not enter anything, Make will generate a random combination. The primary key must be unique for each row. You will use this field to edit, overwrite, or delete records from the table later on.

To delete one or more rows, select them and click on “Delete selected.”

We’ll add a new record again, but now with our own key:
Now that we have stored the data, we can create a scenario for extracting, transforming, and loading data from it.
Using Data Stored in a Scenario
First, locate the Data Store module in Make. Then, select the desired action from the menu. You will be able to choose from:

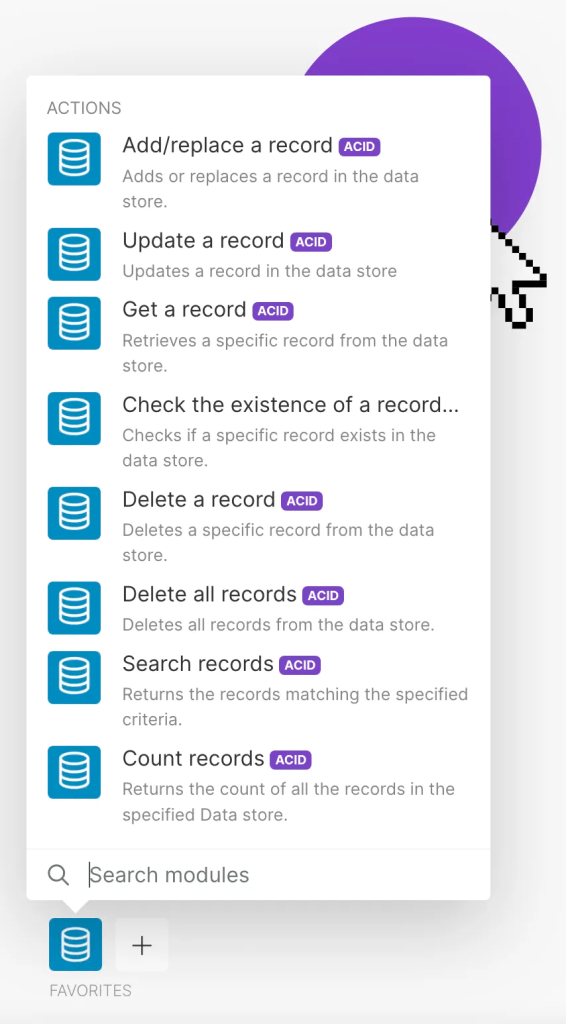
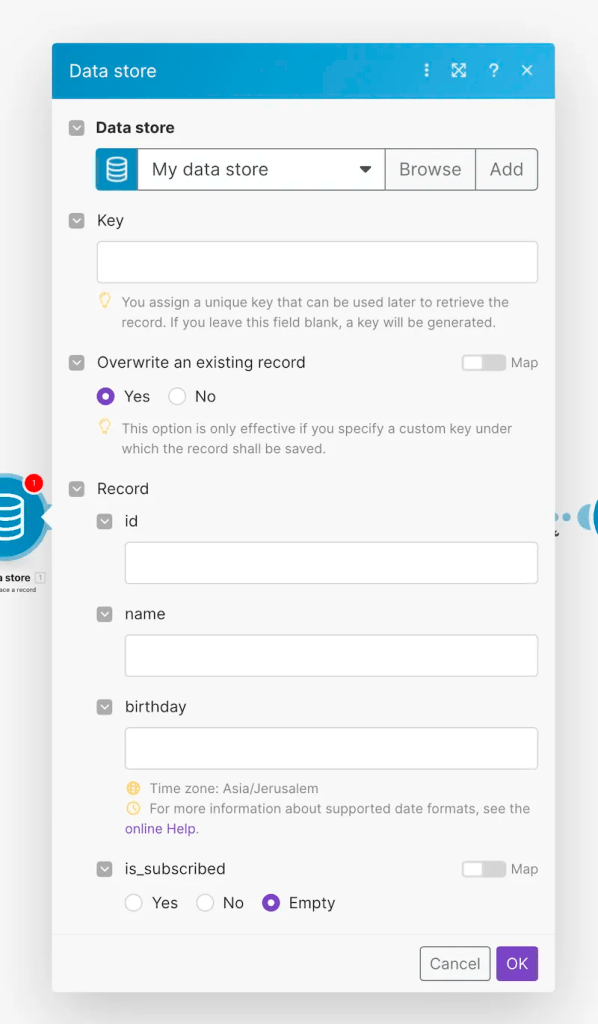
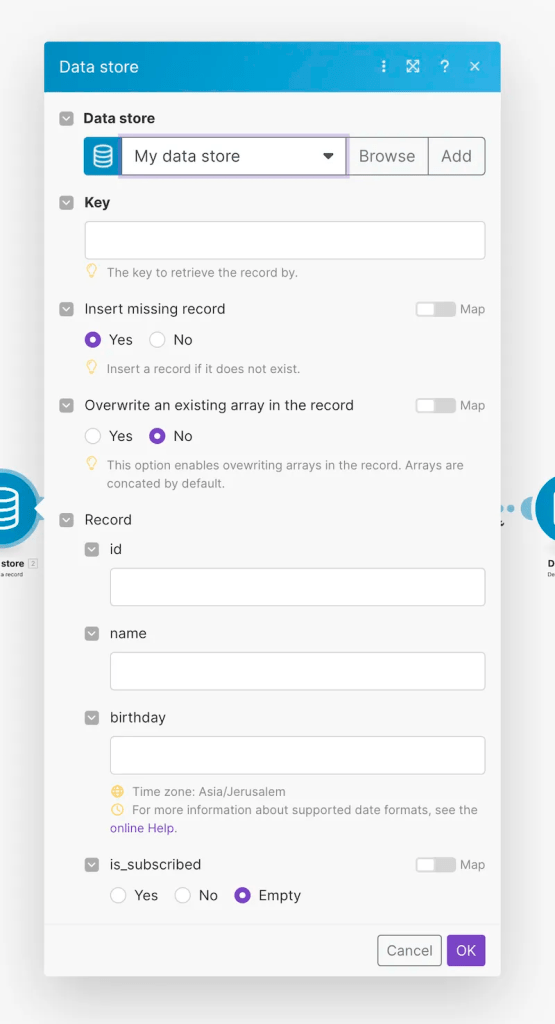
1. Add/replace a record
This action adds or replaces records in a data store. To replace an existing record based on its primary key, select the “Overwrite an existing record” option. If no key is provided, a new row will be created. The record will only be replaced if the key already exists in the table; otherwise, a new row will be added.


Can see the results changed in the data store
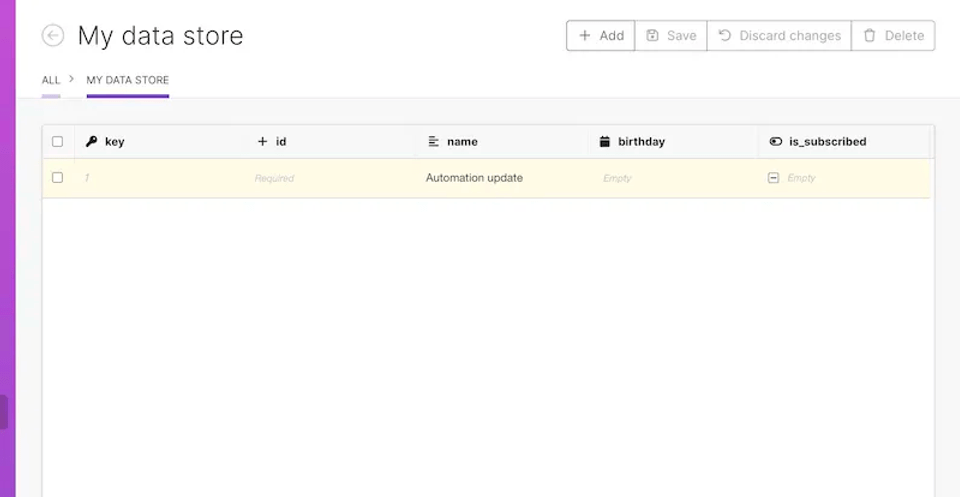
2. Update a record
To update an existing record in the table, the “Key” must match a record in the table. You can also choose to insert a missing record and set it to “Yes”. If no records are found, a new row will be added. This module will then perform the same function as the previous one — “Add/Replace a record”.
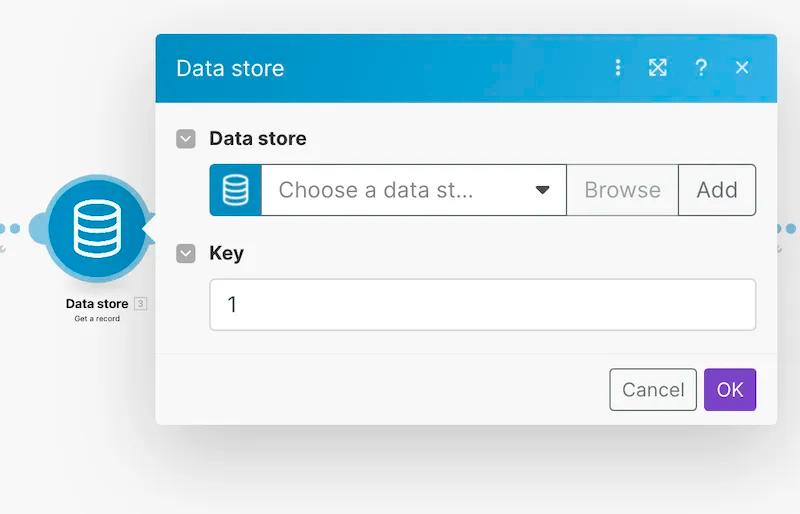
3. Get a record
Retrieve a record by its key. This will allow you to use its attributes or other related data later in the scenario.

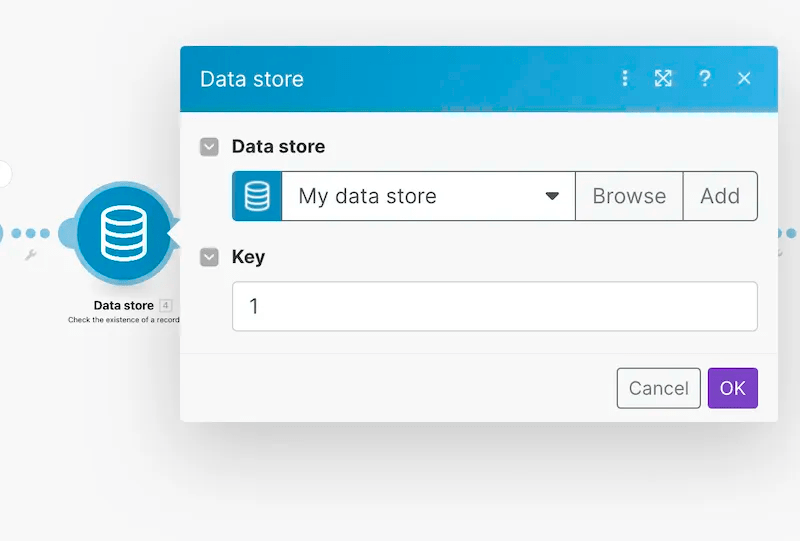
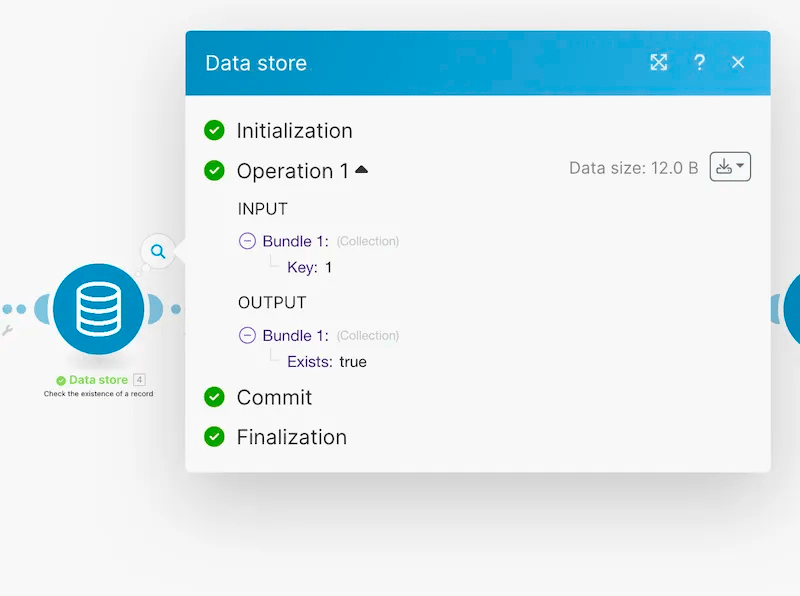
4. Check the existence of a record
Similar to the previous model, this module searches for a specific row in a table based on its key. However, instead of returning all of its attributes, it simply returns a boolean value indicating whether the record was found (true) or not (false).
5. Delete a record
It’s as simple as that. The module will delete the record from the table based on its key.

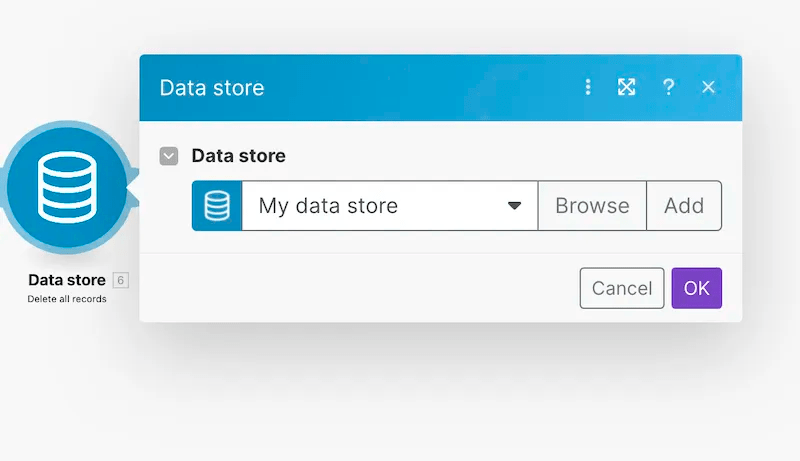
6. Delete all records
To delete all records in a table, use the “Truncate Table” command, which works similarly in most SQL working tools.
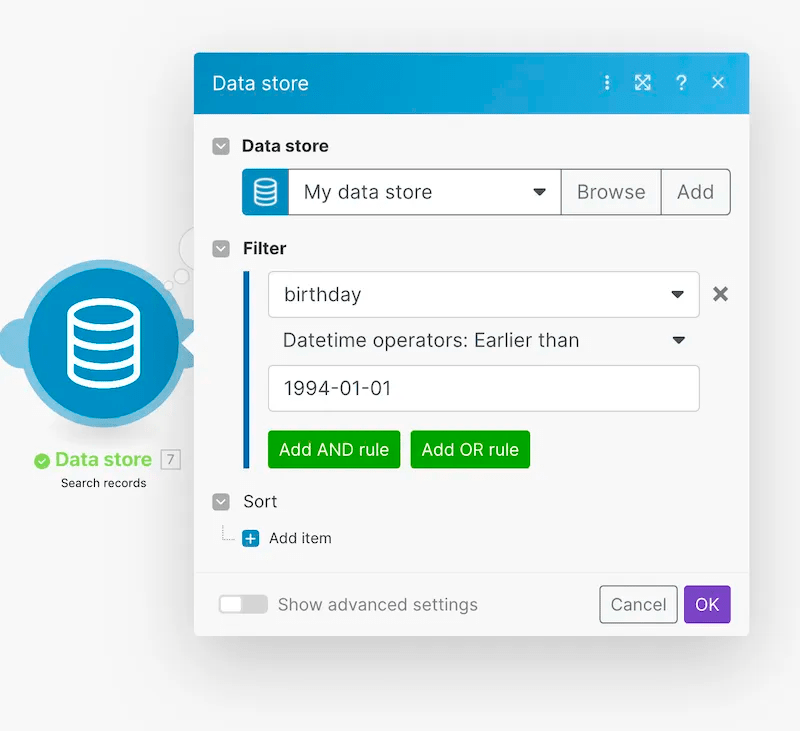
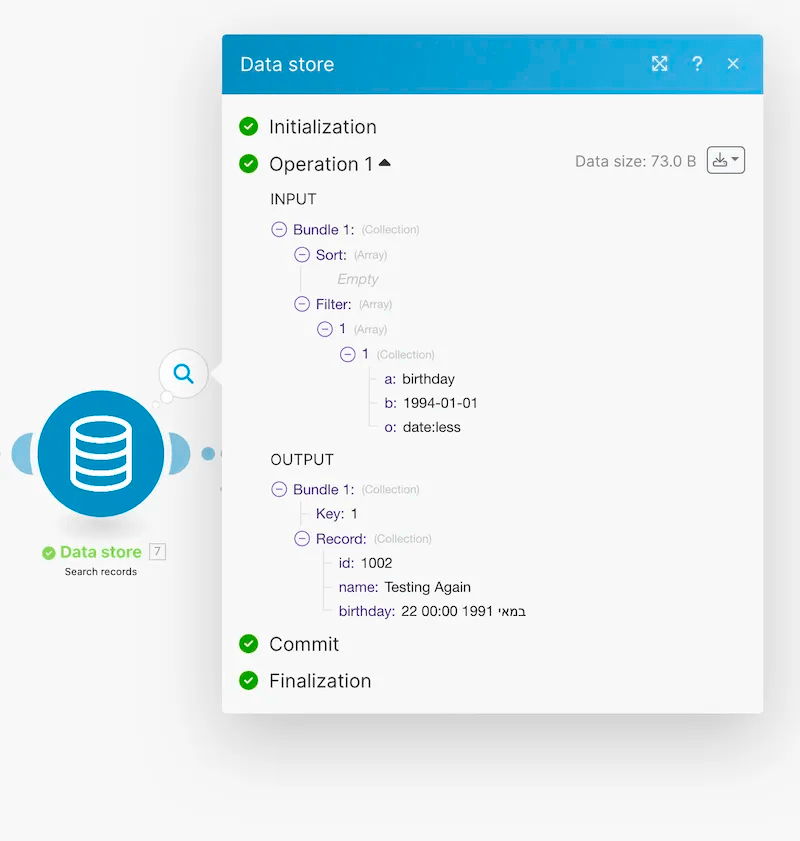
7. Search records
Perhaps the most useful module for data storage is one that enables searching for a record not only by its key but also by any other attribute. For instance, you can retrieve all records based on users’ birthdays and filter only those who were born before January 1st, 1994. To do this, select the desired field from the dropdown menu and enter the filter value in the text box. This module can return multiple records from the table, and you can use their attributes later in the scenario.
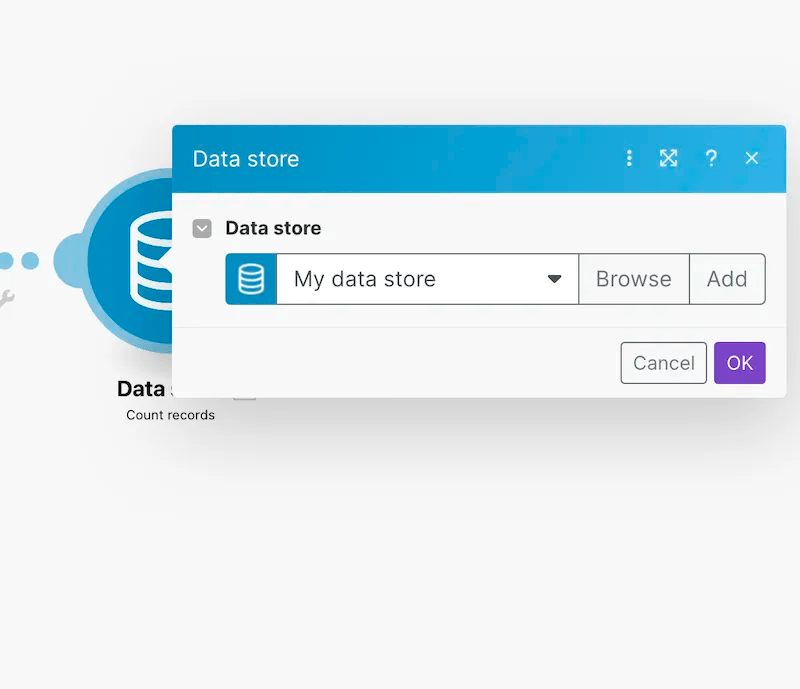
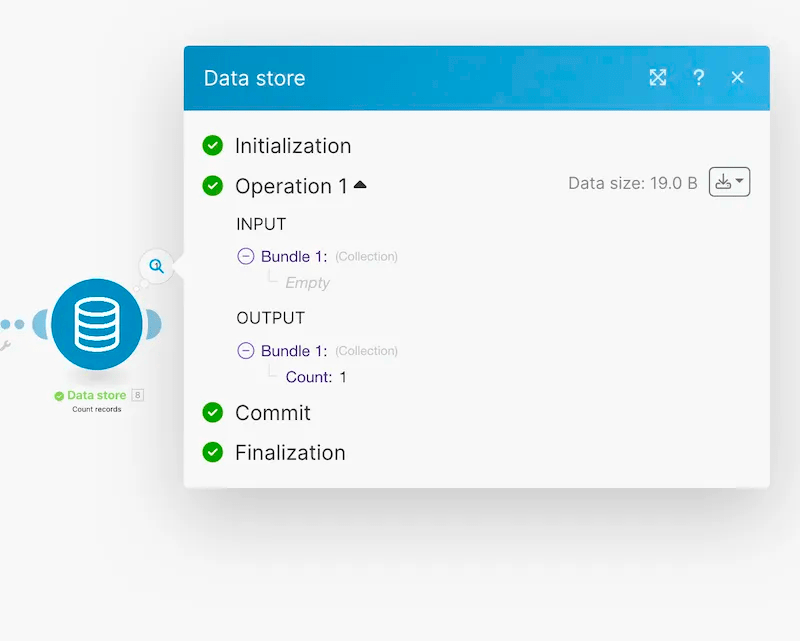
8. Count records
Knowing the exact number of records in a table can be very effective for QA purposes and for monitoring the data store.
Conclusion
Operating within Make’s environment and servers can greatly enhance your scenario’s speed, performance, and error avoidance. If you work with Make as your primary automation tool and need to store, manipulate, and manage your data, there is no doubt that storing it within Make is the best option for you.
I hope this tutorial has been useful, and if you need help with automation or data engineering, please feel free to contact us. We’ll be happy to assist you!


Leave a comment